Installing a new air conditioner is a significant step to ensure your home stays comfortable during hot weather. It’s important to understand the entire process, from selecting the right unit to making sure it’s installed correctly. This comprehensive guide will walk you through each step to help you make informed decisions and ensure your new system runs efficiently.
Choosing the Right Air Conditioner
Selecting the right air conditioner is crucial for ensuring your home stays cool and comfortable. The first factor to consider is the size of your living space. A unit that is too small will struggle to cool the area efficiently, while one that is too large can cool too quickly without removing enough humidity, leading to an uncomfortable environment. Our professionals use precise calculations to determine the best size air conditioner for your home.
Another important consideration is the type of air conditioner that suits your needs. Options include window units, split systems, and central air conditioning systems. Window units are typically used for single rooms, while split systems can cool multiple rooms. Central air conditioning is ideal for whole-house cooling and offers the most even temperature control. Our technicians can discuss each type’s pros and cons to help you make an informed decision.
Energy efficiency is also a key factor in choosing an air conditioner. Look for units with high Seasonal Energy Efficiency Ratios (SEER) to ensure you get the most cooling for your energy dollars. Higher SEER ratings mean better energy efficiency, which can lead to long-term savings on your utility bills. Our team can guide you in selecting an energy-efficient model that meets your needs and fits your budget.
Preparing for Installation
Before the installation process begins, it’s important to prepare the installation site correctly. First, ensure there is enough space for the air conditioner to be installed. Proper clearance around the unit is necessary for efficient operation and future maintenance. Indoor and outdoor units need to be positioned where they can operate without obstructions.
Next, gather all necessary tools and materials for the installation. Basic tools include a drill, screws, brackets, a level, and sealant. Having these items on hand before the installation starts will help the process go smoothly and efficiently. Our professionals come fully prepared with all required equipment to handle the installation without any delays.
Electrical preparations are equally important. Ensure that the electrical system is compatible with the air conditioner’s requirements. This might include checking circuit breakers and ensuring the wiring can handle the new load. Our technicians will review your electrical system and make any necessary adjustments to safely install the new air conditioner.
Finally, it’s essential to have a clear understanding of the steps involved in the installation process. Familiarizing yourself with these steps can help ensure that everything proceeds as planned. Our team provides a detailed overview of what to expect, addressing any questions or concerns you might have. Proper preparation sets the stage for a successful installation and long-lasting performance of your new air conditioning system.
Step-by-Step Installation Process
The installation of an air conditioning system requires careful attention to detail. Our professionals follow a precise set of steps to ensure the unit functions optimally. Below is a breakdown of the essential steps involved in the installation process:
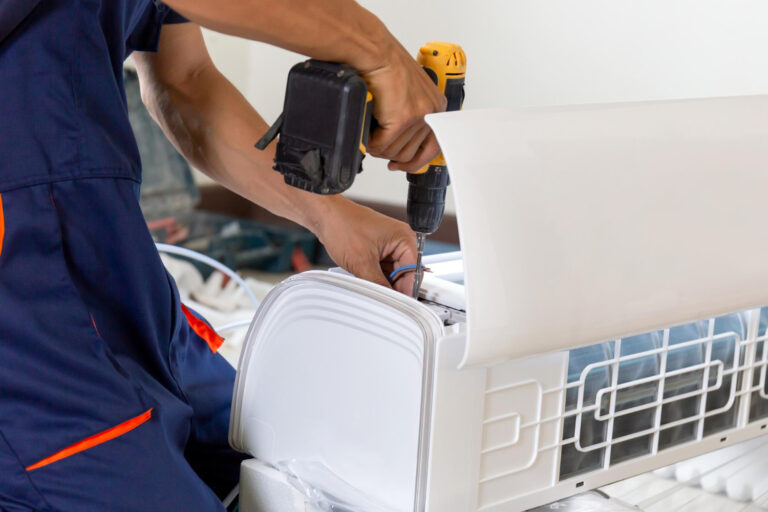
- Mount the Indoor Unit: Start by securely mounting the indoor unit on the wall or ceiling. Use the provided brackets and ensure the unit is level. Proper mounting is crucial for efficient operation.
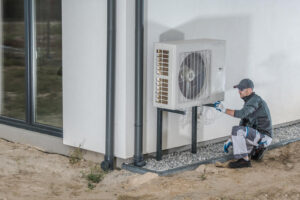
- Install the Outdoor Unit: The outdoor unit should be placed on a flat, stable surface. It should also have sufficient clearance around it to guarantee proper airflow. Our technicians secure the unit to prevent vibrations and noise.
- Connect Refrigerant Lines: Next, connect the indoor and outdoor units with refrigerant lines. Ensure the connections are tight to prevent leaks. Our professionals use specialized tools to achieve secure fittings.
- Electrical Connections: Make all necessary electrical connections according to the manufacturer’s guidelines. This includes wiring the thermostat and connecting the power supply. Ensuring proper connections prevents electrical hazards and ensures smooth operation.
- Vacuum and Charge the System: Remove any air and moisture from the refrigerant lines using a vacuum pump. Once the system is evacuated, charge it with the appropriate amount of refrigerant. Our technicians measure the exact refrigerant levels to ensure optimal performance.
- Test the System: Finally, turn on the air conditioner and test it to ensure it’s working correctly. Check for any unusual noises, vibrations, or leaks. Our team performs a comprehensive check to verify that the system is operating efficiently.
Following these steps with precision ensures that your air conditioner is installed correctly and ready to provide reliable cooling.
Post-Installation Tips and Maintenance
Maintaining your air conditioner after installation is crucial to prolong its lifespan and ensure efficient performance. Regular maintenance helps prevent breakdowns and keeps your system running smoothly. Below are some essential post-installation tips and maintenance practices:
- Change Filters Regularly: One of the simplest and most effective maintenance tasks is changing or cleaning the air filters regularly. Dirty filters can restrict airflow and reduce efficiency. Our professionals recommend checking the filters monthly and replacing them as needed.
- Clean the Coils: The evaporator and condenser coils can accumulate dirt over time, reducing their ability to absorb and release heat. Regular cleaning helps maintain efficient operation. Our technicians can schedule routine cleanings to keep your coils in top condition.
- Check Refrigerant Levels: Low refrigerant levels can affect your air conditioner’s performance. Regularly check the refrigerant levels and recharge if necessary. Our professionals can handle this task to ensure your system remains efficient.
- Inspect Electrical Components: Regularly inspect all electrical connections and components for signs of wear or damage. Tighten any loose connections and replace any damaged parts immediately. Ensuring the electrical system is in good condition prevents potential issues.
- Schedule Professional Maintenance: While there are several tasks you can perform yourself, scheduling regular professional maintenance is vital. Our technicians can perform a thorough inspection and address any potential issues before they become major problems.
Conclusion
Understanding the steps involved in air conditioner installation and subsequent maintenance is essential for ensuring your system operates efficiently and lasts for years to come. From selecting the right unit and preparing for installation to following a detailed installation process and performing regular maintenance, each step plays a crucial role in achieving optimal performance.
We are committed to providing top-notch air conditioning services to keep your home comfortable year-round. Whether you need help choosing the right air conditioner, expert installation, or reliable maintenance, our team is here to assist you. Contact us at Volpe Service Company today for all your air conditioning needs. Let us help you stay cool and comfortable with our professional AC installation services in Chester.


